Customer favourite since 2005
Worldwide delivery to 100+ countries
Welcome back to the latest post in our DIY With Flowers series. We have already shown you how to make a wide range of accessories and decorations, but after you have made all these for yourself, friends and family, it’s time to make something with your children!
With Mother’s Day not far away, and the holidays soon coming, it’s the perfect time to get together with your children for a DIY With Flowers session. This week, we will show you how to make your own children’s garland. They play an important role in many different cultures, and are also very popular with children who love to make their own daisy chains and necklaces. Here, we’ll show you how to make a great one!
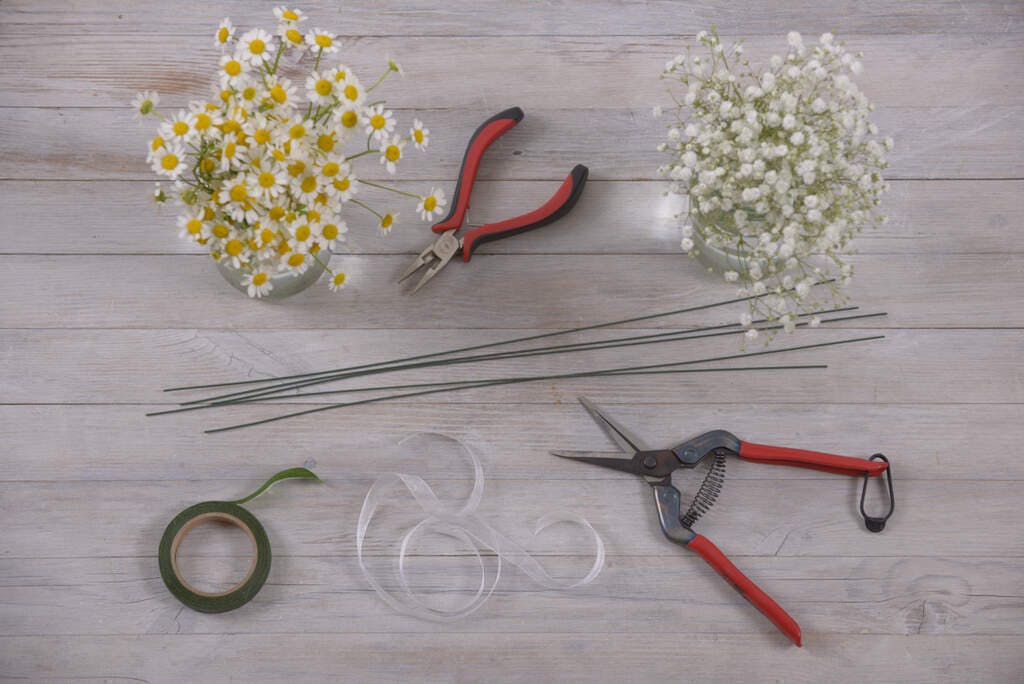
As always, we try to make this as simple as possible for you. In terms of equipment, this time we suggest that you will need:
On the more fun side, you can of course choose your own flowers, but we have used the following:
We have gone for these as they are the traditional flowers for a garland, particularly for children. You can of course, substitute these for whatever you like, just remember to pick small and pretty flowers so that they aren’t too big or bulky for the garland.

First of all, you need to cut the wire to be the right length. This should be just enough to fit around the child’s neck or head comfortably, so that it can be worn without any problems and it is easy to put on and remove.
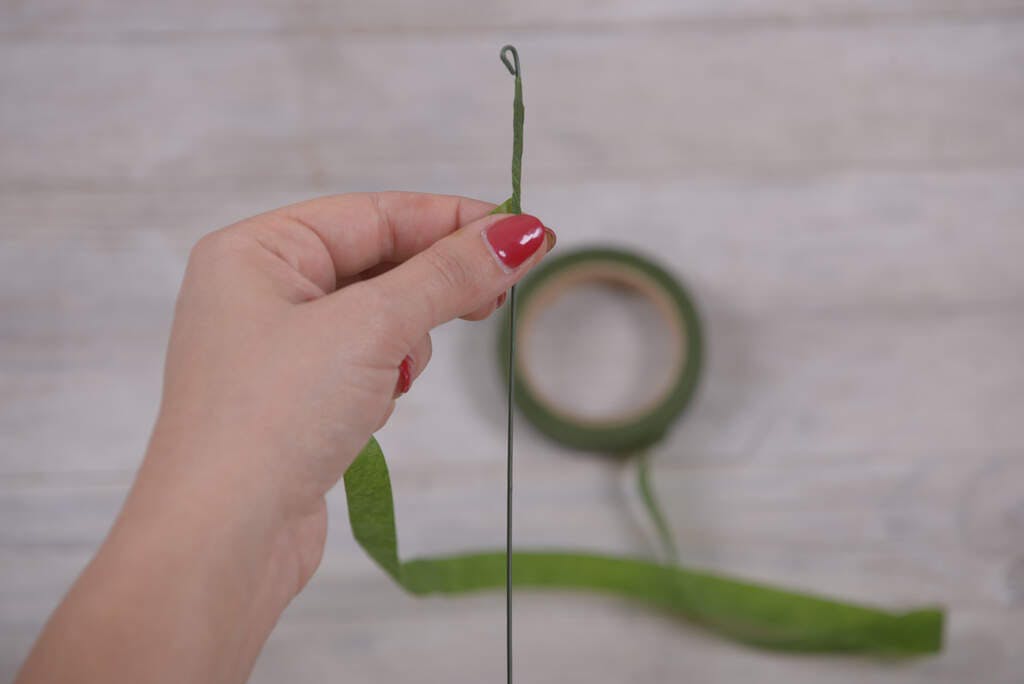
Then, loop the ends using pliers, and wrap the length of the wire in floral tape to make sure that it is comfortable and safe for when your child wears it. We’ll come back to the loops later when we add a ribbon.

Next up, you need to shorten the stems of all of your flowers, so that we can fit as many flowers as possible on to the garland. You can recycle these stems and use them as compost in your garden if you are growing something!

Here, put the stems of your flowers together so that the blooms of the flowers are together. Then wrap around them with floral tape, and move further down the wire, adding more flowers as you go to fill out the garland and ensure that you have flowers throughout.
Try to make sure that there is an even balance, and that it looks as symmetrical as possible for the best results, not only in terms of appearance, but also in comfort!
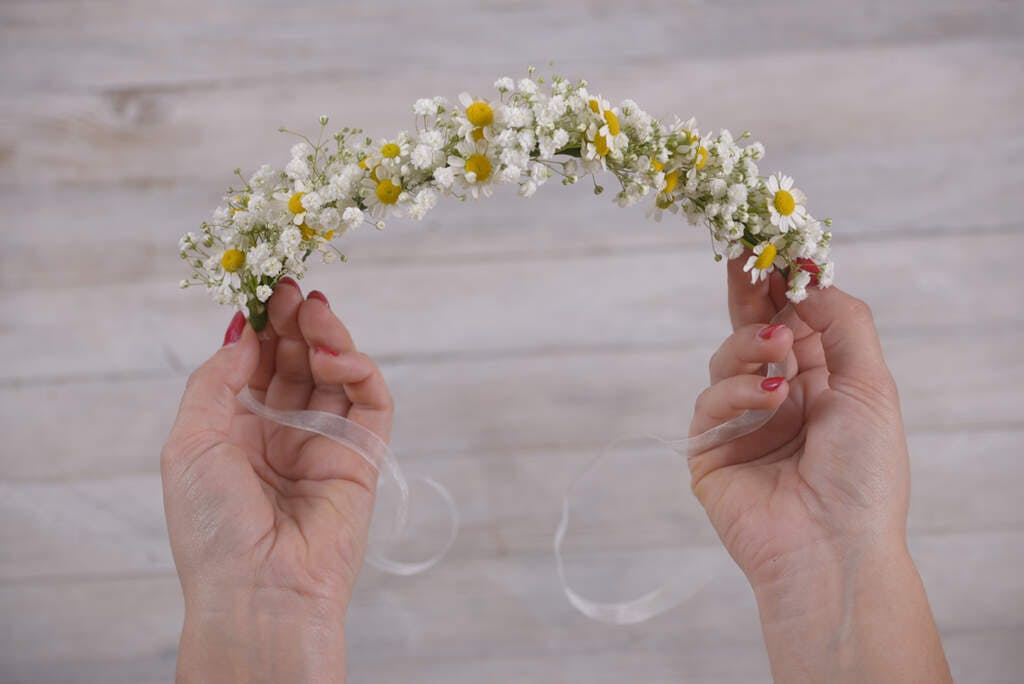
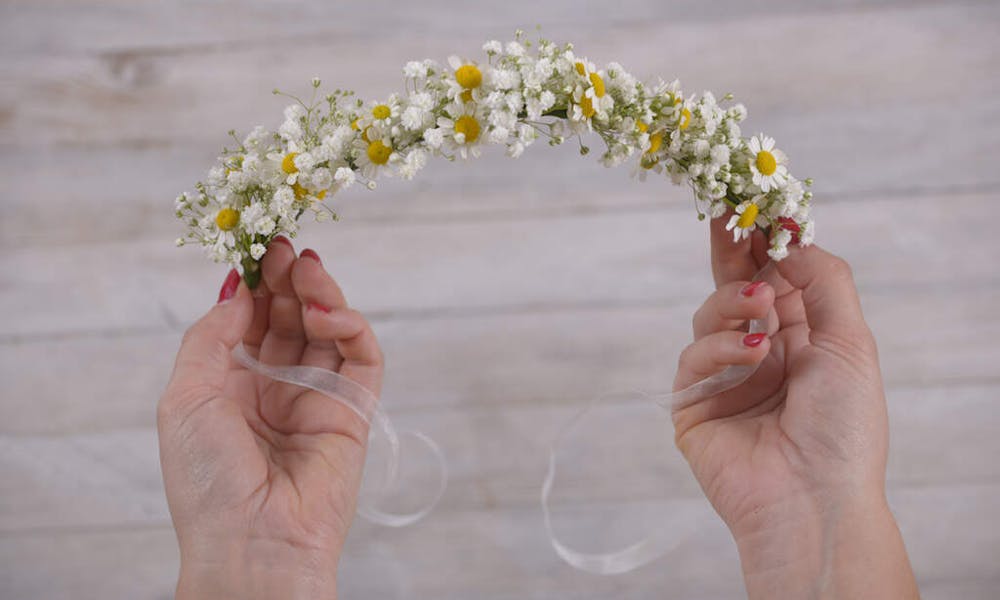
Finally, you can tie your piece of ribbon around the two loops at the end of the wire. This makes it easy and comfortable for your child to wear, put on and take off the garland without any problems.

The most important step, is to make sure that your child enjoys wearing it! We’re sure they’ll look great, and the garland will be fun for them to wear! To help make it last as long as possible, try to be careful with it as it flowers, particularly such small ones, are often delicate and fragile.
If some flowers are damaged, don’t worry, you can easily replace them with a new flower and a little bit more floral tape.
We hope you’ve enjoyed reading our instructions, and if you attempt to make the garland, as a special surprise for your child, or maybe even with their help, we hope all goes well! Why not check out the rest of our posts in the DIY With Flowers series? If you’re feeling inspired, you can send a wide range of flowers with FloraQueen’s international flower delivery service.

