Welcome back to our latest installment of our DIY With Flowers series. As you may already know, we’ve shown you how to make several accessories and floral arrangements. This week we will show you how to make the perfect flower crown for a spring or summer party, or even just as an every day accessory!
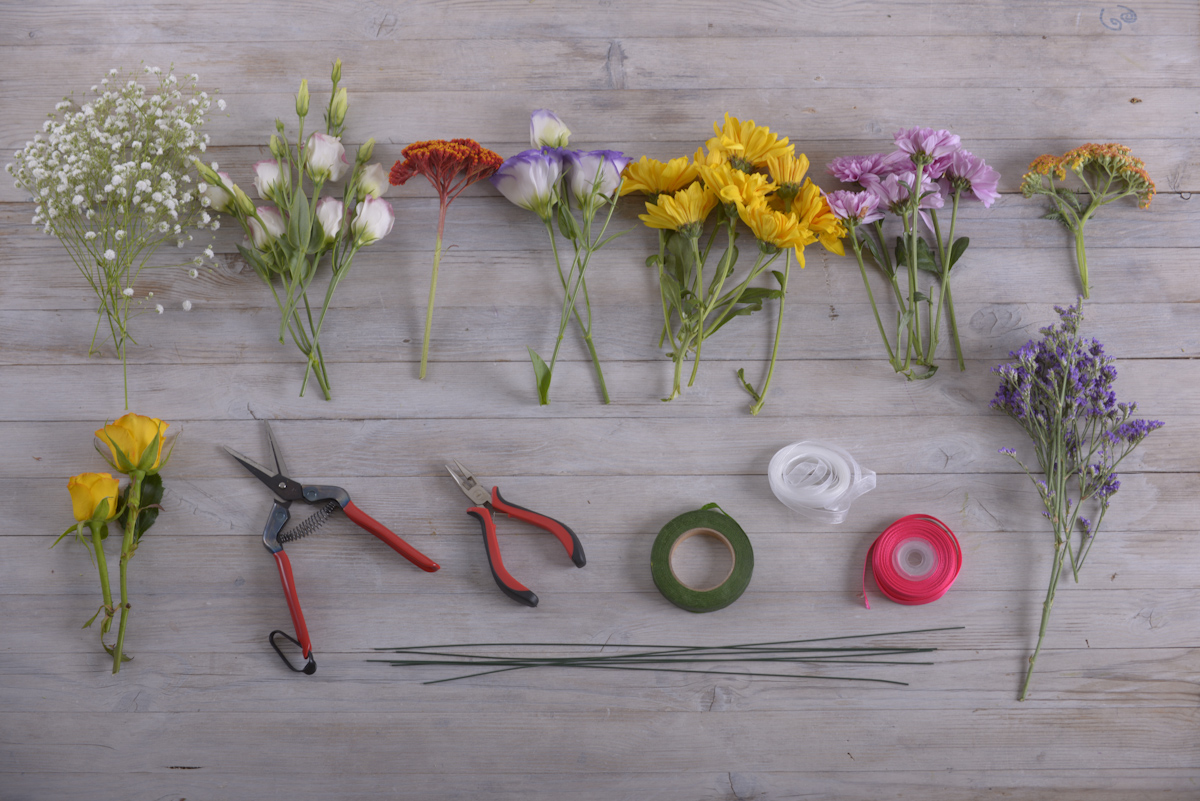
As always, we try to use the simplest and easiest equipment we can. This time, we recommend that you used quite a lot of materials to help make the most colourful and best flower crown possible. Here we have used:
In terms of flowers, as this flower crown is best suited for spring and summer, we recommend using bold and bright colours to match. As always, feel free to adapt and change our instructions to whatever you wish to have in your crown. Here we have used:
Once you have got everything together and ready, we can get started!
Firstly, using the pliers form a loop at both ends, it should look just like the loop shown above in the image. Then wrap the wire in floral tape from top to bottom just like this picture.
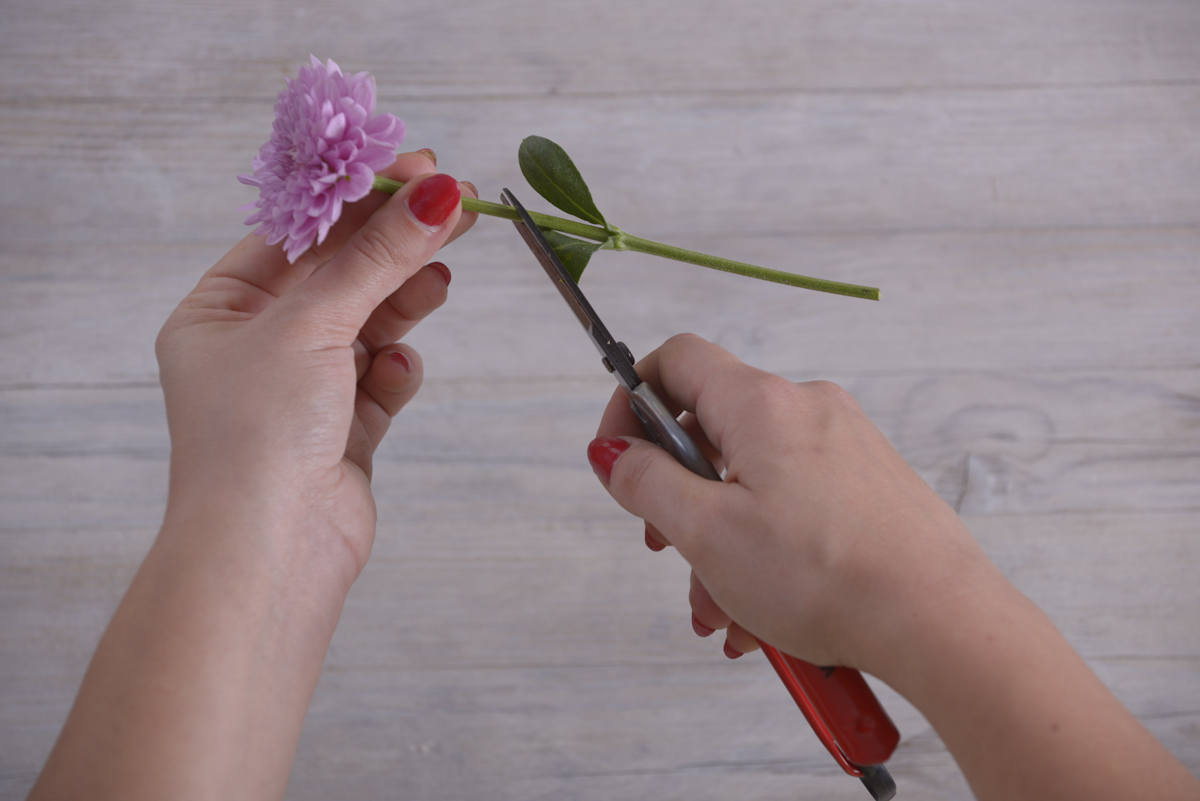
Then, before arranging any of the flowers, we have to shorten the stems of the flowers. This is vital to ensure that they fit well into the crown, and also that they are comfortable for you to wear on your head.
Here the real fun begins as we add some gorgeous flowers to the crown.
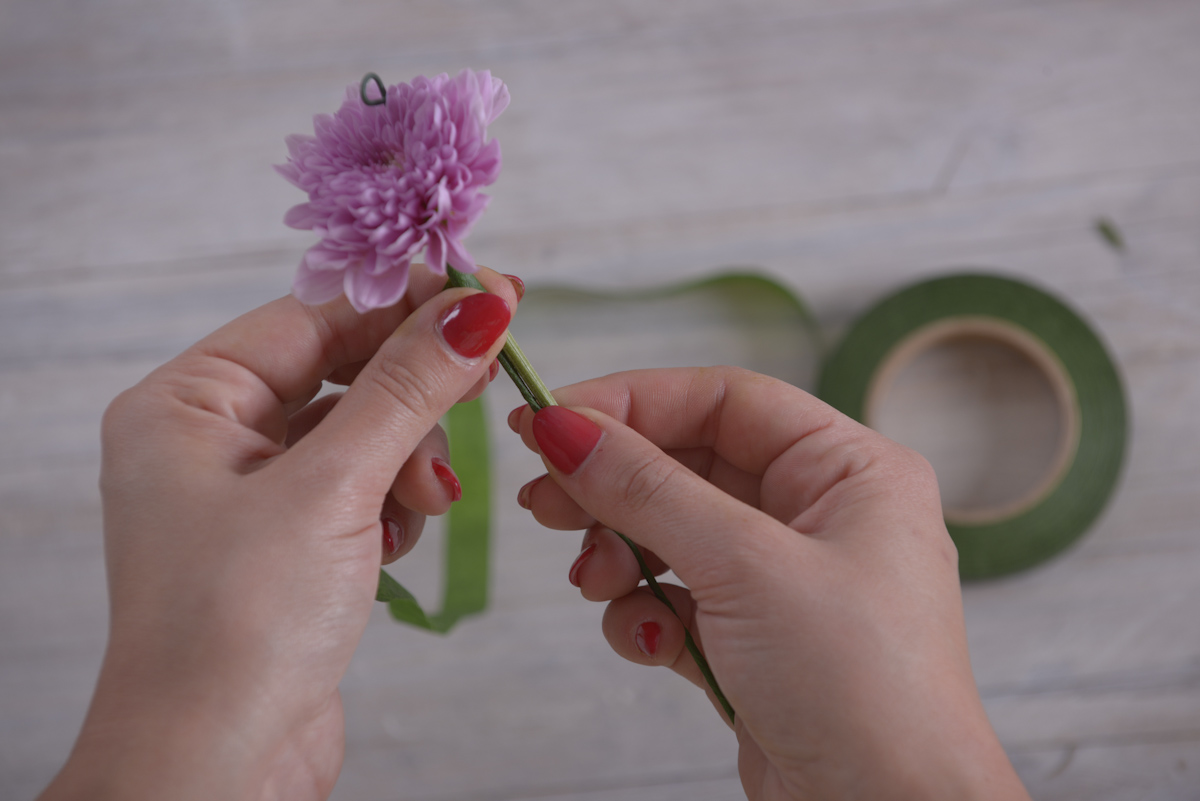
Place the first flower at one end, as close to the loop as possible, and then wrap around the short stem with floral tape.
Wrap the tape as close as you can to the blossom in order to fit as many flowers as possible and keep them looking tight and secured to your crown.
Next, place the next flower next to the last one, and again wrap around entirely with the floral tape.
Keep doing this with more flowers, moving the stems further down and/or switching ends in order to fill the crown out completely.
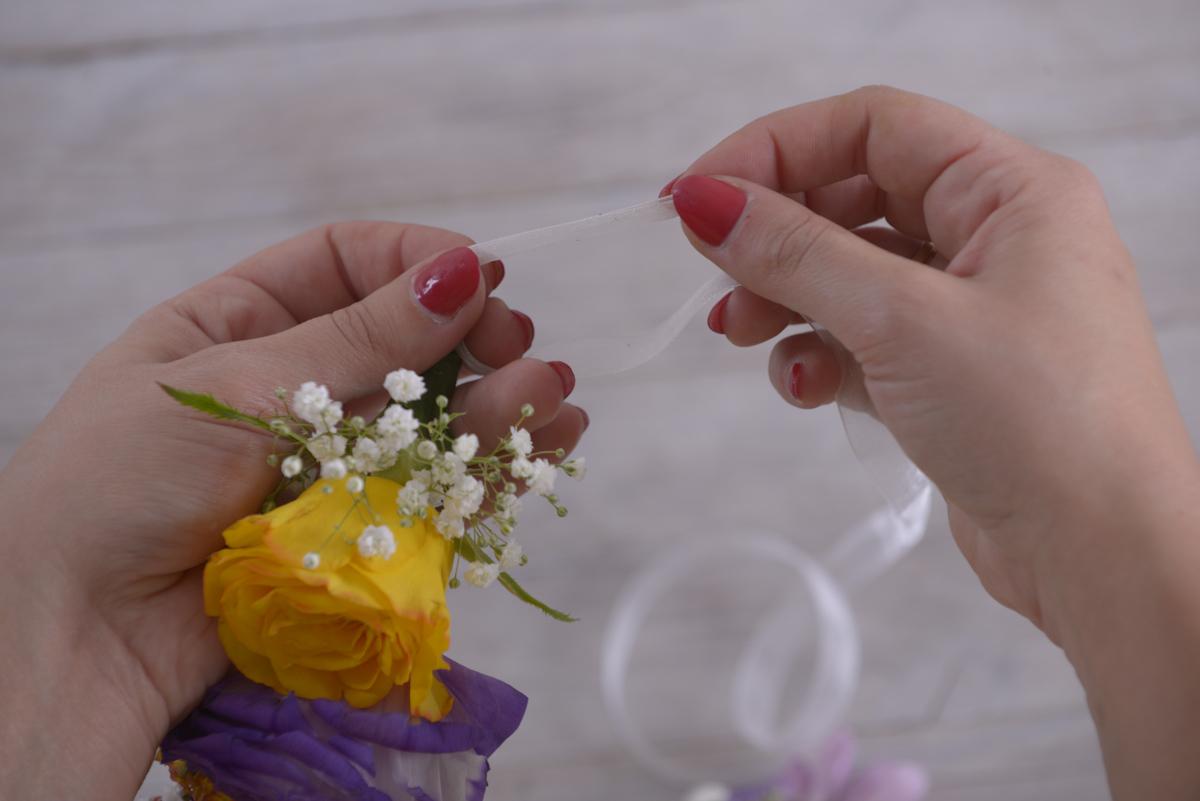
To finish, you just need to add the ribbon which is the final step.
We recommend using white ribbon here to complement the flowers.
Tie the ribbon to the two loops, this way you can tie a knot around your head and this way you can use it to tie the crown so that it sits comfortably.
Now that it’s done, you can wear your flower crown and look great! Take care of your crown by replacing any flowers that start to pass their best, and make sure that you are careful with the delicate flowers. Most importantly, remember how stunning you look and enjoy a great spring and summer this year.
We hope that you’ve enjoyed reading our instructions, why not let us know how your effort goes if you make this gorgeous flower crown?
Flowers have an innate charm that can instantly brighten up any space. They bring a…
In a world brimming with botanical wonders, rare and exotic flowers stand out as nature's…
Gardening is a rewarding and therapeutic hobby that allows you to connect with nature while…
In the world of gardening and floral arrangements, taking care of your flowers is a…
When it comes to planning a wedding, every detail matters, and the choice of flowers…
Flowers have been used for centuries as a way to express emotions, celebrate special occasions,…