Customer favourite since 2005
Worldwide delivery to 100+ countries
Have you been thinking about what you can do to keep that beautiful bouquet you received on Valentine’s Day or birthday a little longer? We all love flowers so much, and it’s tough to throw them away, especially after they made us feel so good, and we got attached to them.
Whether it’s your bridal arrangement or simply a bouquet from someone very special to you, it can be kept along with the sentimental value. Keep reading to find out a few options to dry that beautiful bouquet, because we know you don’t want to get rid of it that easily. Let’s have a look at:
* What to consider before picking the best option for you
* Air drying technique
* Microwave drying technique
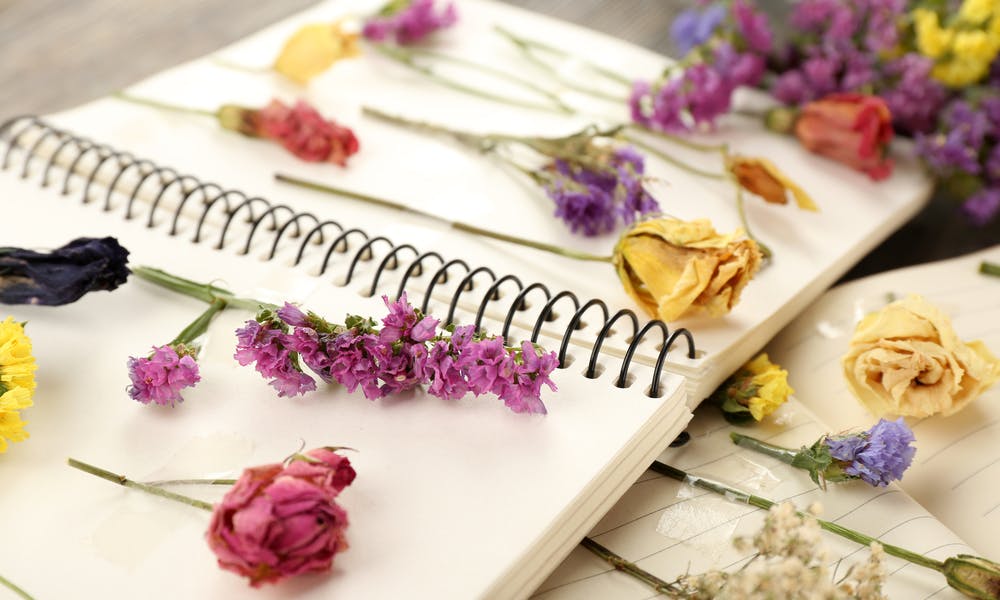
* Pressing technique
* The laziest way
* Dipping the flowers in wax
In order to preserve the beauty of your flowers, you may want to consider a few things, as flowers are different and need individual care. The air-drying technique works for robust flowers like roses or for tiny ones, like lavender.
The small daisies, roses, and tulips can be easily put in the microwave, as their structure and color are preserved better with this method than with air drying. For fragile flowers like lilies, pressing works best. The fully bloomed flowers are more likely to lose their petals during the process, so it’s best not to wait too long before drying them.
One very important thing to consider is removing the flowers from the direct sunlight, in order to prevent them from decolorizing. You might want to cut the stems if they’re too long, but it’s your own choice.
Cut the excess foliage and put them together into a bouquet (if they’re not already made into a bouquet) and find a dark and dry area where you can put them. You can leave some leaves on the flowers as they dry too, but try to keep them as simple as possible.
You can either secure them to a hanger and leave them upside down or find the perfect spot in your home where you can hang the flowers for two or three weeks. If you don’t want to hang them to a hanger, you can simply tie them with a string and then string them to a stick, but make sure whatever you choose is hard enough to hold the flowers for such a long period of time.
Once in a while, check them, just to make sure they are still in place. After they’re thoroughly dried, spray them with hairspray for protection and find the perfect place to put them, but avoid showing them off in direct sunlight.
Microwave Drying Technique
For this method, silica gel is required, which can be easily found in craft stores. This silica gel preserves the beautiful shape of your flowers.
You first need a microwave-safe container where you can put your flowers into. Cut the unwanted leaves and the stems to the optimal length in order to fit them in your container. Then cover the bottom of the flowers with the silica gel or sand, but be careful to pour gently. If the flowers are small, you can put more in the same container, but make sure they’re entirely covered in sand or gel. Do not cover the container with anything.
Before finding out the right temperature, you have to first try to see how it goes, as microwaves are all different. Start with one or two levels above defrost and set the timer to two to four minutes. Be sure to check on them to see their progress and avoid over-drying them. You might want to put a cup of water near the container in the microwave.
Once dried, remove them from the microwave and cover the container. Open the top quarter of a centimeter and let them sit like that for at least 24 hours. After a day, gently clean the gel from the petals, spray them with acrylic spray, and then enjoy your dried flowers!
This is the easiest method to dry your flowers, but it is kind of time-consuming. You need a heavy book like an encyclopedia. Open the book somewhere in the middle, line a page with parchment, and put the flowers downwards so they won’t overlap. Close the book and leave it somewhere for up to 10 days. After those days, return to your flowers and see the result. Enjoy them in your crafty projects, or even use them as bookmarks.
If you want to dry your flowers with no effort, just leave them in the vase. Leave a few inches of water in the vase, and after the water is fully evaporated, the flowers begin to dry themselves.
The wax method is the most difficult one, but it makes them look amazing. You can opt for paraffin wax, as it’s the most common one, but the soy wax is a more eco-friendly one. It’s your choice what wax you want to use.
When the flowers are in full bloom, they’re ready to be put in wax. Cut the wax into tiny pieces and melt it. Bring some water to boil in a saucepan, and in a smaller container, put the wax and put them into the boiling water, in order to melt the wax. Cut the flowers into the appropriate length and dip them into the melted wax, leaving them after on a baking sheet to dry.
Whatever method you opt for, you now know you can preserve your beloved flowers for more time in order to enjoy them. You no longer have to throw them away, which is amazing.

