MENU
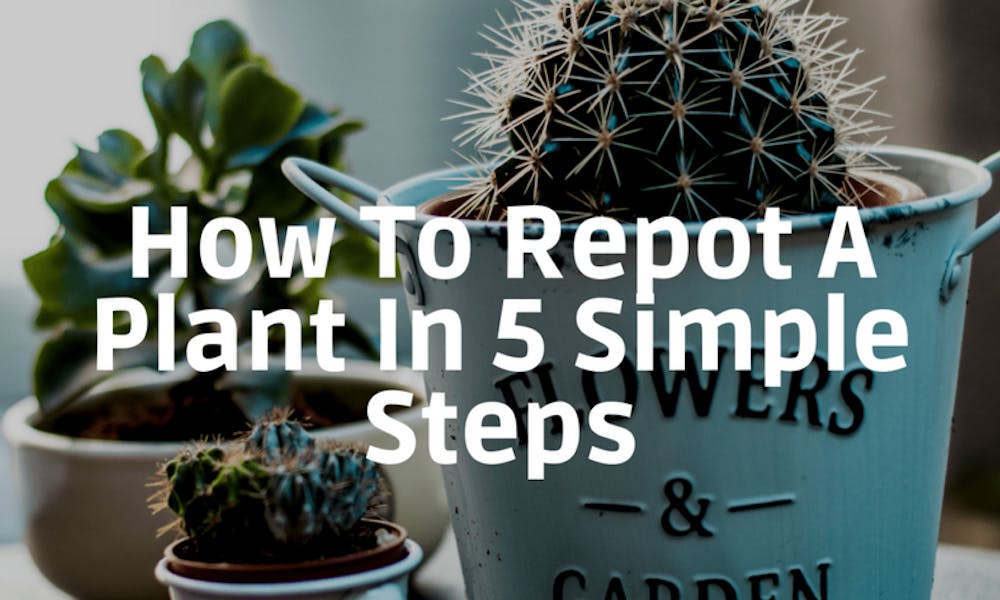
How To Repot A Plant In 5 Simple Steps

One of the beautiful things about indoor plants is that they are alive and always changing. Sometimes that means that, like us, they outgrow their surroundings and need a bit more living space. When it comes time to repot a plant and give it a little more room to spread its roots, it’s important to take steps to carefully ease it into its new home.
If you’re not very into gardening you may be nervous about interfering with your plant, preferring to leave it to its own devices. However, as we’ll see, repotting doesn’t require you to be a green-fingered expert. Your plant will certainly thank you for it too.
Should I repot my plant?
Most houseplants have earned their reputation as an indoor variety as they can tolerate comparatively more shade than their outdoor only cousins. For some plants (especially flowering ones like orchids) it’s essential to move them to a bigger home regularly or at least give them some root maintenance to ensure they continue to flourish. If their space gets too crowded and their roots overgrow it becomes easier to over and underwater them and they might start to show signs of stress.
How to know when its time to repot your plant
There are a few warning signs you should watch out for before deciding to move a houseplant to a bigger pot. These include:
- Roots protruding from the drainage holes
- Water not draining properly from the soil
- The soil becoming soft and powdery
- The plant looking like it’s getting too big for its pot
- The plant can’t stand on its own

Step 1 – Choose your pot
When it comes to choosing flower pots you should always be careful not to choose one that’s too big. This can be just as problematic to a plant as a pot that’s too small. Sometimes, however, if you’re happy with the size of your plant you can reuse the same pot as before and simply refresh the potting soil and trim and untangle the roots to a more comfortable size.
Step 2 – Carefully free your plant from its current pot

Sometimes plants can get very wedged in the pot. If this happens, all you need to do to free it is give it a little water so that the rootball stays together. Then with a kitchen knife or long flat object, loosen the edges of the plant around the rim of the pot.
Once you’ve managed to loosen it up a bit, its time to remove the plant. The best way to do this is to turn the container upside down (ensuring the plant doesn’t fall out the top of the pot) and gently ease it out. This might require a hard tap on the bottom if it’s a little stuck.
When you have the root ball out in the open it’s a good idea to examine the roots for any pests or disease. Although, repotting on its own should ensure your plant doesn’t fall sick with any nasty maladies.

Step 3 – Place your plant in its new pot

In most cases, it should be ok to simply place the plant as it is. In some cases though, you may need to prune the roots a little with a sharp knife. Before you put the plant in its pot, it’s a good idea to add a little of your growing medium to the bottom so that there is room for your plant to grow downwards as well as outwards.
You can also avoid mess during this stage by covering up the drainage hole at the bottom of the pot with coffee filters so the soil stays in and water can pass out.
Step 4 – Top up the potting mix

When your plant is sitting comfortably. You then need to top up the potting mix so that the plant can get itself rooted properly. To make sure your plant has healthy roots going forward, it’s important to choose the right potting medium. Whether it’s bark chips, compost or cactus soil you should always match the plant with the mix it likes best so that it can stay happy and healthy.
Step 5 – Give the mix some water
Once your plant is snugly inside its new pot. The only thing left to do is give its new potting mix a little bit of water (not too much though) to encourage the roots to move into their new space.

Keeping your potted plants green and luscious doesn’t take a lot. Just a little care and attention every now and again is more than enough to keep them flourishing. If you’re sharing a plant as a gift this year just remember to share our tips with your lucky recipient ????
Sharing plants around the world is easy with FloraQueen. We deliver in over 100 countries around the globe and dedicate ourselves to sharing smiles wherever and whenever they’re needed most.

